Showing posts with label Jungle Safari. Show all posts

Wednesday, August 6, 2014

A photo tour of Jungle Safari, Where Kids Explore the Nature of God

I am normally better at taking pictures of all the sites, but somehow forgot this year.  Anyway here are some fun pictures of setting up for Jungle Safari.

Monday was supply moving day and starting on vines and leaves.  My husband brought a bunch of stuff on Sunday.  This is what was left for me to bring.


ACK!  I think we will work on Slug A Bug S.W.A.M.P on Tuesday morning!


Here is the Jungle Hallway to Slug A Bug S.W.A.M.P and Zipline Bible Time.  We made long vines from dollar store brown craft paper and stapled on green leaves.  We used a few different styles and colors of leaves.  You can find the template at Weelife.  I also cut down dollar store green plastic table cloths and hung them over the lights.


Next we are arriving at Slug A Bug S.W.A.M.P.  Miss V and her friend S.R decorated the door and created the tree inside.
 Some of the crafts were a little to hard for my Bouncy Beetles (Kindergarten-1st grade) so I found this mural at S&S Worldwide.  I also realized last year that cheap plastic flower pots make the best thing to hold markers, colored pencils, and fabric markers in.  They also can be used year after year.


Again we put paper vines and leaves everywhere!


 I also printed out what craft will be made on each day.  I get so excited when supplies are sorted.


While setting up, Gemini called and said our shirts were ready (a couple days early) so Miss V and I ran out to pick them up.
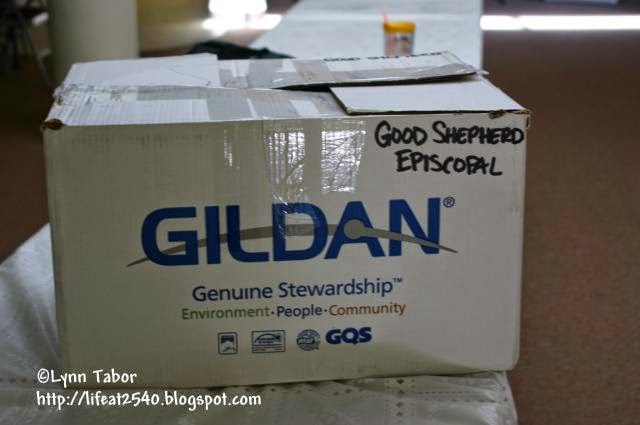
 A first peek at the shirts.

After Slug A Bug S.W.A.M.P was done, we cleaned out Zipline Bible Time and moved everything to the library to work for the rest of the week.


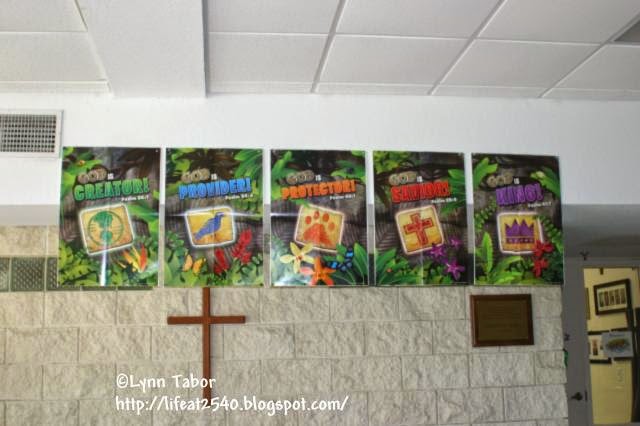
Next up theme signs


Base Camp is set up and ready for the Explorers to pick up their T-shirts and drop off their cell phones.


Next up pictures of Jaguar Junction.


I forgot to take good pictures of the ceiling, I found a mottled green and white gossamer and covered the lights.  We also wrapped the concrete pillars in brown paper and made them into trees.  At the very top I used foam pipe insulation and had green crepe paper hanging down to look like the tree top.  When the AC would turn on the crepe paper would gently move around.  It was really cute!

Sadly I didn't get to many pictures of Lizards Leap's decorations.  I took lots of busy children.

We went really simple with Toucan Jam and used the ancient pillars and jungle vines.  I have learned that it is better if we remove a few sections of chairs so that the kids can get up and dance and not fall over the chairs.

This is the Rainforest Learning Wall


I tried something new this year.  I put a table in Toucan Jam and had a bucket for each group.  This was a great way to keep track of the name tags and any notes or projects that needed to home.  This ended up working really well and will definitely do it again next year.


Finally for Jungle Safari, I use that opportunity to give back to a local charity.  Pregnancy Solutions is a charity that is very close to my heart.  This year we collected just under 50 packages of diapers, 19 packages of wipes, a whole box of shampoo, lotions, baby wash, a box of food and other feeding supplies and a hamper FULL of clothing.


Some of my Mighty Monkey's loaded up my car.


A look around Jungle Safari at Good Shepherd Episcopal Church

I took a quick video of our Jungle Safari set up before the Explorers came.  I am sooo not good at this kind of thing.

I had our T-shirts made at Gemini Apparel which is in Venice not Nokomis (I was super nervous and didn't make myself note cards)


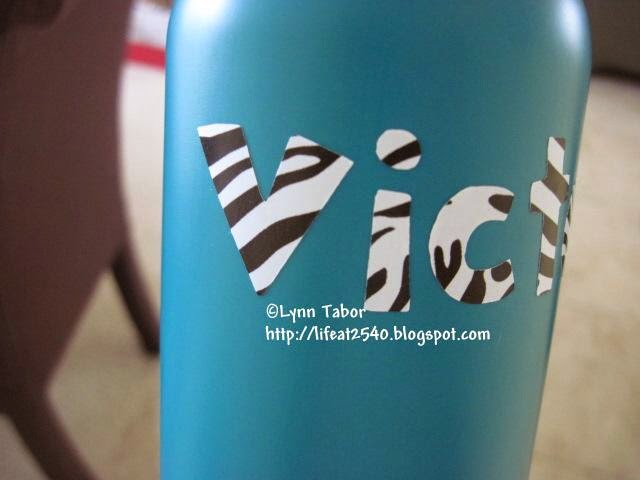
This year I bought #WB20 20oz Plastic Custom Water Bottles they were teal with black cap and I customized them by using my Cricut Expression 2.

Customized Water Bottles for Jungle Safari VBS

I have now been the VBS Coordinator for my church three years and I have learned a lot and mostly the hard way.  The first year, I kind of followed what the previous Coordinator did and when it came to the snack site, we had giant drink coolers with the little spigot that would leak and cups.  My experience was that it would make a huge mess and never mind the trash!

So last year I bought plain white water bottles with orange caps from Discount Mugs and used a sharpie to write on the child's name.  Then they were sorted into buckets and refilled each afternoon and kept in the fridge over night.  The kids loved them and didn't make any mess or trash.  They also got to take them home at the end of VBS.

This year, I had Miss V pick out a smaller sized bottle and the colors.  She picked out teal bottles with black caps.  When I opened them, I had a small panic attack....Black Sharpie would not show up on the dark bottles.  So I went to googling ideas. I have a Cricut Expression 2 and looked at hundreds of blogs to weigh the pros and cons.

Well I concluded that using contact paper instead of expensive vinyl would work for our bottles.  I also saw that using cheap dollar store clear shelf liner works just as well if not better than expensive transfer tape.

Now....for the contact paper, I thought of just plain white and I know I have a roll somewhere.  Well....I cannot find it anywhere!  So off to Walmart we go and I found Zebra striped adhesive contact paper!  Woo hoo!

So I downloaded and installed Cricut Craft Room and got to playing. 


I used my Mickey Font since it is a nice thick font and will show up the zebra pattern better.  I then took a deep breath and cut a 12x12 sheet and started cutting....


Looks good so far!  Now time to transfer the names to the water bottles.  I just cut a strip of the clear contact paper and used my Cricut tools to scrape/press the names on.


This went very well, but....I used Standard Grip mats (the green ones) and it was a bit hard to get the extra paper off of them.  I went to Hobby Lobby and picked up a Light Grip mat (light blue) and that worked so much better!!!  I will go back and pick up a few more.  

Each group had their own bucket with their water bottles.  The kids really enjoyed the water bottles and one mom even told me how her son couldn't wait to come back because he had his own drink with his name on it. 

As much as I would love to have the bottle imprinted with the theme logo and church info, it is just to expensive and I don't have that kind of extra money in my budget.  I do think this is a great alternative.

Tuesday, July 15, 2014

Jungle Safari, Registration area sign

So this morning, I am working on signs.  The first one is our registration sign in/out table.  This is also where kids will be picking up their t-shirts.

I wanted something that goes along with the theme, so I figured Base Camp would be good.

You will need:
Foam Core Board (can be used or dirty)
Roll of brown paper (found at Dollar Tree)
Roll of wood looking shelf liner (found at Dollar tree)
Funky paper
Cricut (optional, you can cut letters out manually)
Tape
Black Sharpie
Scrapbook Glue stick, my favorite is EK Success ZIG Glue


First cover one side with the brown paper and wrap it onto the back and use a good strong clear packing tape to tape the paper to the back side of the foam core.  Then cut strips of the wood looking shelf liner.  Place it on the paper to make it look almost like and old shipping box.


I used my Mickey Font and cut the letters out at 4.25 inch.  I used some animal print scrapbook paper.  Since the letters were 4.25 inch, it required two sheets of paper.  When done, I glued them on the brown paper.


With a black sharpie add four little dots on the strips to make it look like nails.  You can also outline the vertical strips with the sharpie.